Bows have been very popular for the past few years. They can differ by their colors, sizes, designs and arrangements. They come in different varieties with an even broader possibilities of designs.
Creating one at home is essential in personalizing your own accessories. In creating a do-it-yourself bow, it will only require a few materials depending on your preferences. You may use an unusable headband like I did below.
Materials Needed:
1.) Old headband or 12 x 12 inches of cloth (The size of the cloth may depend on your preferred hair bow size.)
2.) Scissors
3.) Glue gun
4.) Glue Stick
5.) Electricity
6.) Crocodile pin
Steps in Creating a Bow:
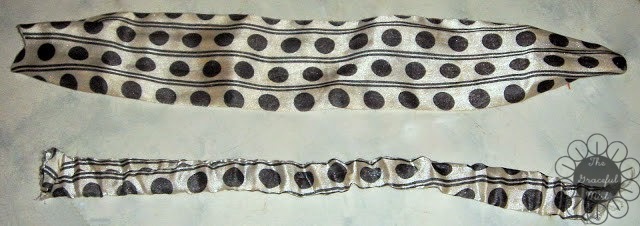
(As for the main material that was used, it was an old headband with stretchable straps. If this material is unavailable for you, a simple clothing can also be used. Just form a long rectangular shape about 3-4 inches and fold it for 2 to 3 times. Also, create another small folded clothing to form the middle part of the bow. Please refer to the picture above.)
1.) Determine the endpoints of the parts of the headband with the same size. Then, cut them.
2.) Fold the sides of the bigger part of the headband that was cut earlier. Put some glue to make the folded clothing stick. Glue gun was used to do this.
3.) Determine the length you want your bow to be. Fold it. Then, put some glue to connect the both ends.
4.) Flip it so that the front part is facing you. Pinch the middle part of the bow or create a wave-like middle part. Put glue to each of the "wave" at the back and front part.
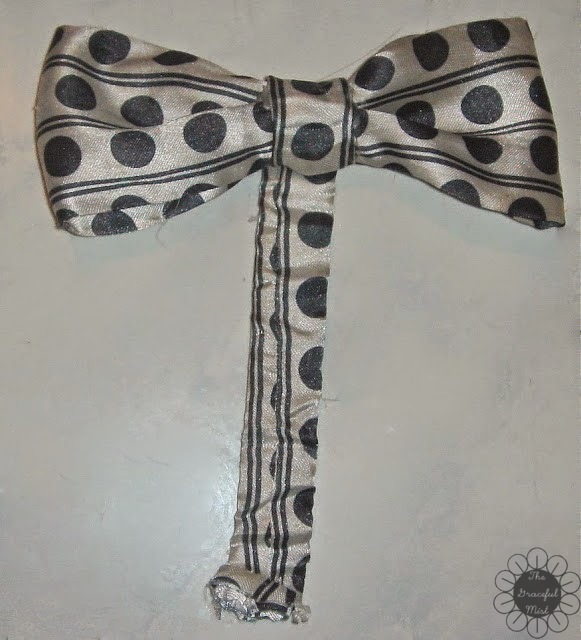
5.) Place the smaller part of the headband at the middle part of the bow. Adjust it first before putting glue. Then, when it looks equal, put glue at the front and back part to stick the clothing to the middle part of the bow.
6.) Cut the excess clothing from the middle part of the bow.
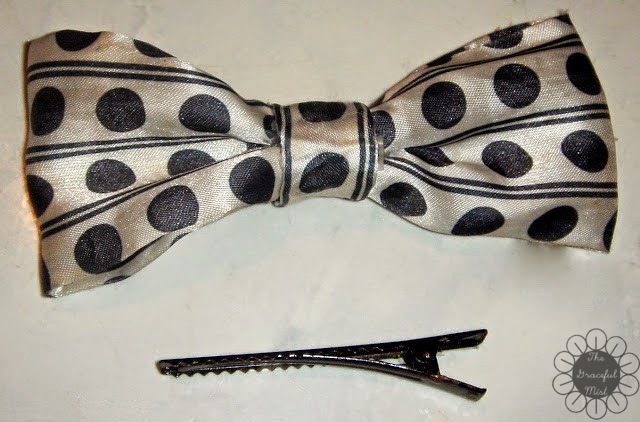
7.) Place a crocodile pin at the back and middle portion of the bow. Do this by putting a glue. Make sure that the pin is glued well.
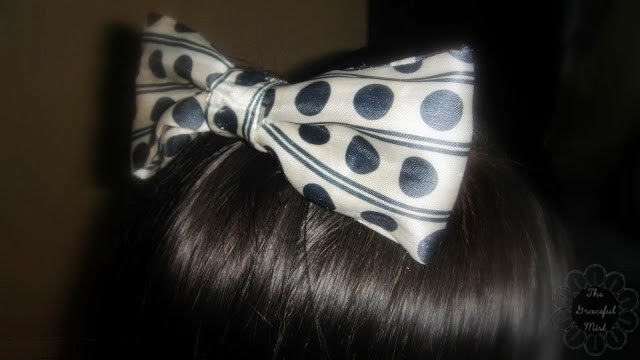
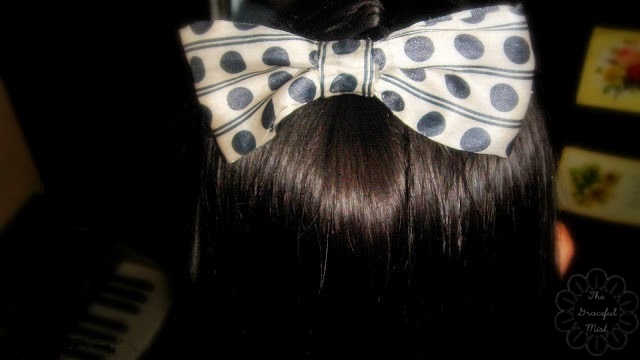
This is now the finished do-it-yourself hair bow. Although the bow is slightly long, it still looked acceptable. The old hair band which used to be unusable has now turned into a hair accessory I can actually use.
You may style your hair in different ways by pulling the front hair back, tying your hair, or even braiding it. Just add the hair bow as an accessory and you`ve already given your hair the extra touch!
Thank you for reading and viewing. Let me know and send me a picture if you ever do your own version of hair bows. Have a blessed day.
If you have any comments, suggestions, requests, and/or questions, please leave them in the comments` section of this blog post. Thank you.






No comments:
Post a Comment